
The ABCs of the Chemical Fume Hood
Getting It Right The First Time – In Three Steps
Feb 28, 2024
A chemical fume hood is a major piece of laboratory safety equipment used when working with any volatile or dangerous substance. The fume hood and connected ventilation system transports them safely from inside the lab to a safe area.
This tool is only effective when the design, installation, commissioning, staff, and maintenance teams know and perform their respective roles.
What are the main components of a chemical fume hood? This article provides the basics to make informed high-level decisions.
The History
Distilled down to its core, a fume hood is an enclosed box-like structure connected by ductwork to an exhaust system that discharges the hazardous air from inside the fume hood to outside of the building. This enclosed structure provides a safe space to mix chemicals and perform experiments that would otherwise emit dangerous breathing air.
As early as the 1800’s there were efforts to use this essential tool. A hidden chemistry lab was found in the iconic Rotunda at the University of Virginia. The room likely has a direct link to the third U.S. president, Thomas Jefferson, who designed the building, school officials said in 2015.
The lab appears to be a specially designed hearth created to be used with a nearby chemistry classroom, when the university was first built in the 1820s, officials said.
What are the key components?
The image below shows the basic components of a typical fume hood per the United States Center for Disease Control (CDC) documentation.
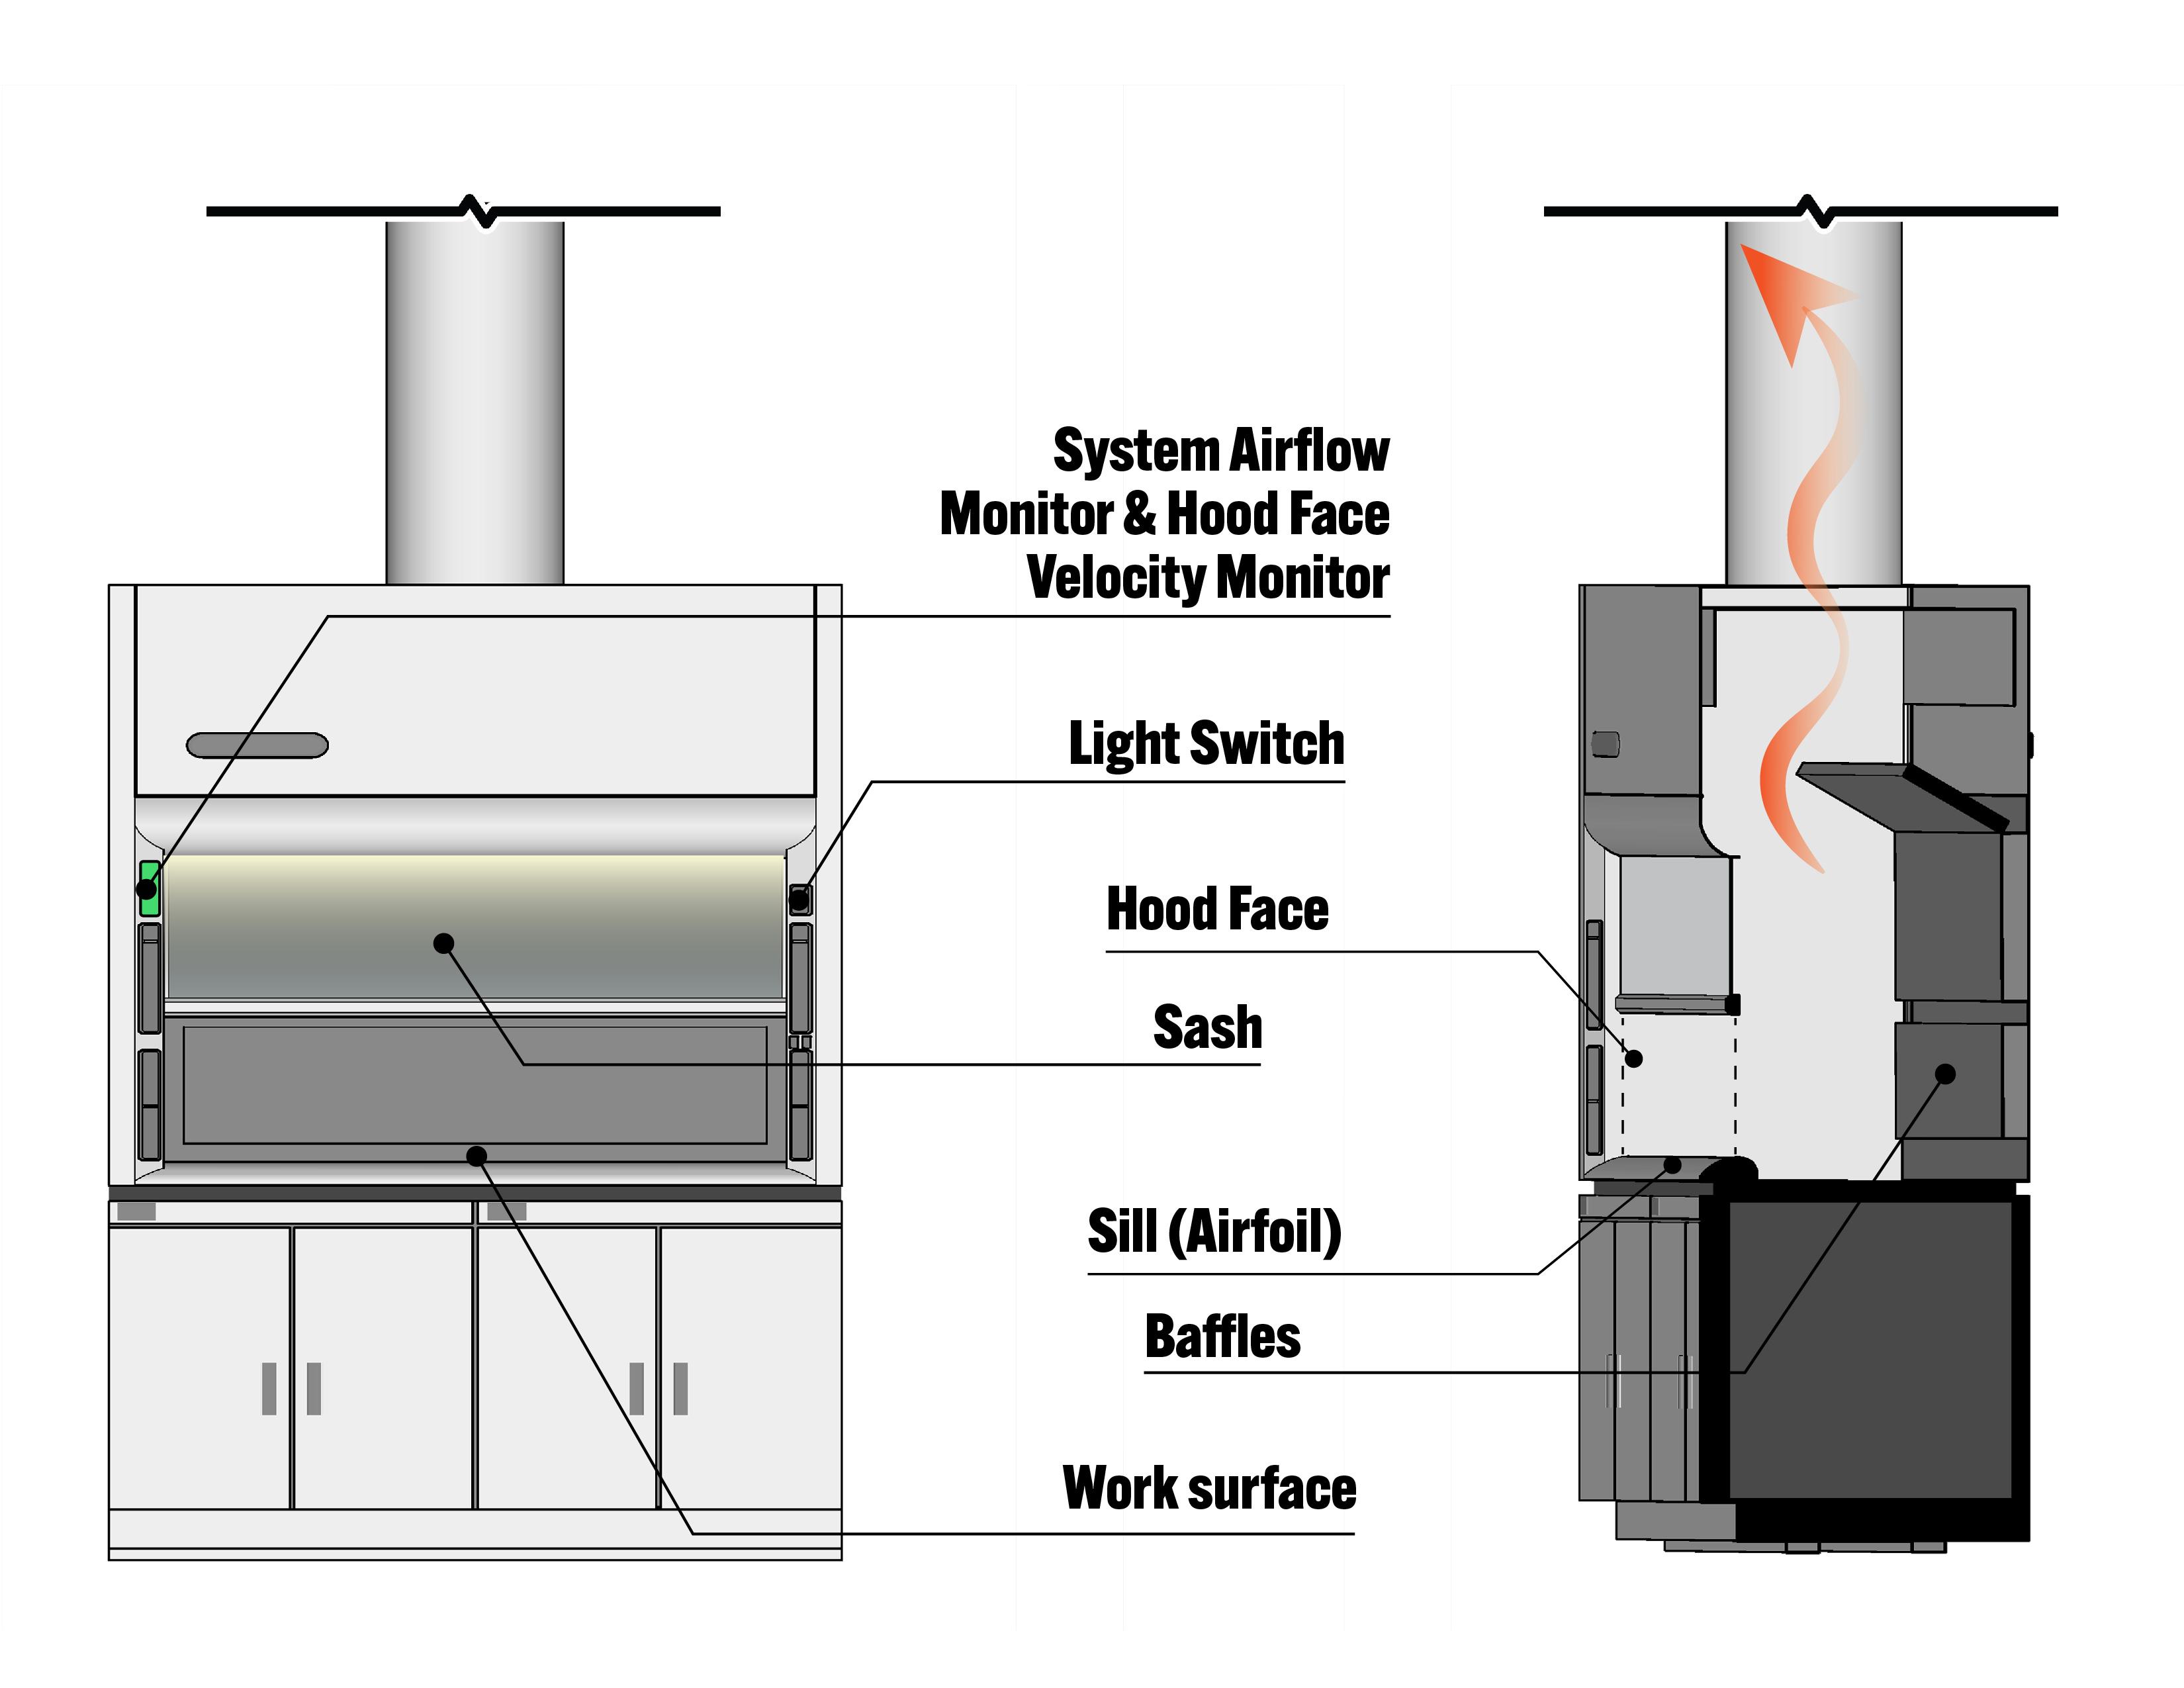
- Sash: Glass window that opens and closes either vertically, horizontally, or a combination of both.
- Light switch: On/off light control.
- System airflow monitor and hood face velocity monitor: Device located on the outside surface of the hood to indicate airflow.
- Work surface: Where work is conducted.
- Sill (airfoil): Located at the bottom front of the hood to guide air smoothly into the hood and reduce turbulence.
- Baffles: Moveable partitions that create slotted openings along the back wall to maintain uniform airflow across the front opening and improve containment.
- Hood face: The hypothetical plane between the bottom of the sash and the work surface.
Fume hoods do not provide product protection (such as samples and specimens) from contamination. Air drawn into the hood from the room is not filtered.
Step 1: Design Considerations
Lucas Raab is a Mechanical Designer with the Interface Engineering design team.
His team has a “design thinking” approach to their workflow: The space uses, owner’s project requirements, and end-users must be fully understood before a design can be implemented.
Design thinking is a systemic, customer-focused problem-solving approach used to create a quality product that balances safety, flexibility, affordability, and energy consumption.
Lucas states, “Take for example a K-12 science classroom. Teachers prefer having as much control as possible in their classroom. Adherent to this, we usually avoid integral fume hood fans, that create unnecessary noise. So, each hood typically receives its own remote exhaust fan and local control switch. While one remote fan can serve multiple hoods, this reduces controllability of each classroom.”
Cost and energy conservation are important considerations as well. But what does the code say?
ASHRAE 62.1-2016 and 2018 International Mechanical Code (IMC) requires 1.0 CFM/SQFT of continuous exhaust for all science classrooms at minimum. Air recirculation is generally not allowed for these spaces, so when a fan turns on, more air must be brought into the space to makeup the exhausted air.
Variable air volume terminal boxes, motorized dampers, or even venturi valves (control dampers) can be used to do this, although designs vary from building to building. It’s critically important that the controls contractor, commissioning team, and air balancing tasks be considered and coordinated at this stage. This coordination includes a design review, component availability (long lead times), and consideration to project phasing.
Lucas states, “Coordination between many disciplines is difficult, but paramount to the success or failure of a design.”
Even after the design and commissioning teams collaborate, more is involved than simply pushing the start button.
Step 2: Installation, Testing and Start-Up
A qualified installer understands that deviations from the design duct configuration will impact the air static pressure, decreasing or increasing potential airflow. When presented with potential changes, there should be no hesitation to consult with the design team.
The project specifications detail the ventilation requirements and calls for a Testing, Adjusting, and Balancing (TAB) plan of action.
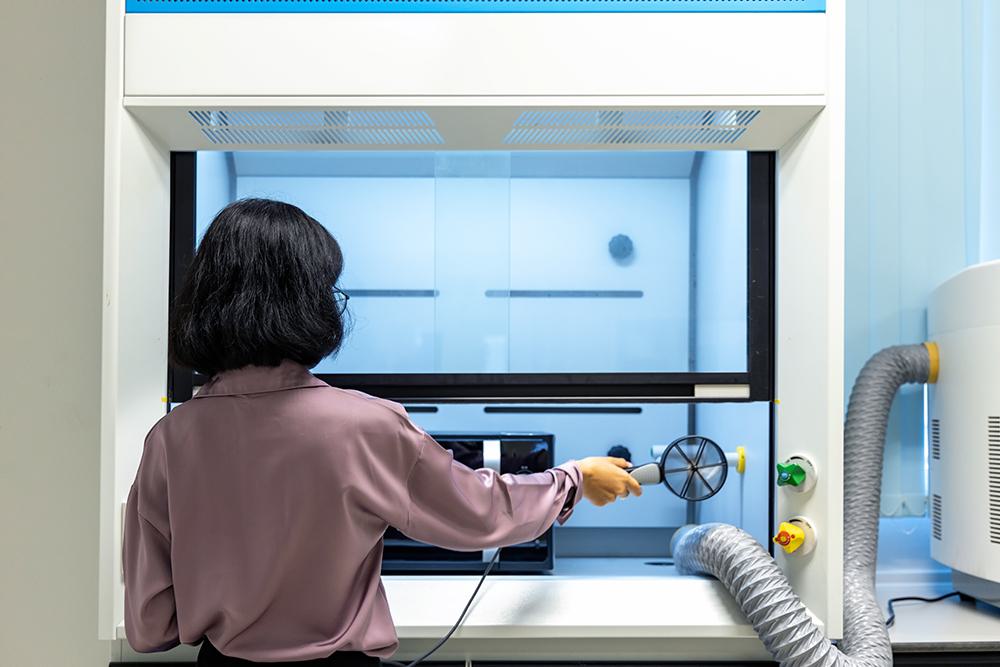
The TAB technician will measure the exhaust fan and fume hood performance at design conditions. The measurements should include checking the face velocities at the fume hood opening. If the velocity is too high or too low, the “A” (adjust) in TAB, will be made to bring the system to within design.
When multiple hoods are connected to a common exhaust fan, the technician understands the individual hood sash and on/off interaction with the entire system. The TAB Report could state: “no diversity was used during TAB”, meaning all hoods were opened per design when recording airflows. Diversity (a percentage of units on or off) is something that needs to be clearly indicated in design so that the balancer knows how to balance.
All velocity measurements, calibration, and total CFM are documented in the TAB report.
Fume hoods are typically equipped with a monitor to continuously measure and provide a visible reading of airflow.
System airflow monitors indicate whether or not the overall exhaust fan airflow is low. These are usually found on constant air volume hoods and have visual and audible alarms.
Some laboratories also have hallway indicator lights that flash amber when in energy set-back or blue when the system is down.
The Certification Sticker
The certification sticker is normally attached to the front of the fume hood and indicates the certification date and average hood face velocity when the certification was completed.
The hood is recertified annually or one year of the previous certification date.
If the fume hood does not have a certification sticker or the certification has expired, the fume hood should not be used. Contact the facility safety office for assistance.
Exhaust Types
Chemical fume hoods are equipped with various exhaust systems. Constant air volume and variable air volume are common.
Constant Air Volume. Maintain the hood face velocity between 80–120 feet per minute (fpm) only when the sash is at the certification height. The total exhaust airflow rate is constant; therefore, as the sash opening increases, the face velocity decreases.
Variable Air Volume. Maintain a constant face velocity between 80–120 fpm, independent of the sash position by allowing the hood exhaust rate to vary. Allow the fume hood to maintain the desired face velocity with a wider range of sash positions.
Step 3: Commissioning and Lessons Learned
Following start-up, the commissioning agent is on deck. Commissioning is not just using a checklist to check boxes of yes/no. Commissioning runs the system through its paces like a high performance car on a test track. Consider two examples:
On one project, it was decided to design and provide fume hood controls first and then install a fume hood in the future. This is not typically recommended for the following reasons:
- The fume hood sash type must be known to properly select the fume hood’s sash sensors.
- The fume hood valve controller (CAVA) relies on the sash sensor to modulate the valve, without this, it will operate as a constant volume valve.
- The corresponding supply valve will also be constant volume as it tracks the future fume hood valve.
On a different project, the air balancing technician and hood certifier measured airflow that was at design, 775 CFM. However, when they used a vane anemometer to verify the face velocity, the design 100 FPM was not maintained (see the hood diagram above).
The underperforming velocity caused the installation to fail the hood certification. The initial terminal device (exhaust valve) airflow measured 775 CFM in the hood ductwork. This was insufficient for the 8 ft. fume hood, with its 88” wide sash opening.
The design team was consulted and the airflow was increased to 1200 CFM. The approved design adjustment allowed for sufficient airflow to achieve the required fume hood 100 FPM face velocity. The designer verified that the airflow changes would not negatively impact the zone space pressure differential. The airflow was measured and the fume hood certification was approved.
Takeaways
- When properly used, fume hoods can protect the lab users and facilities teams from inhaling chemical gases, vapors, and aerosols.
- The 3 steps: 1) Design begins with the end-user, energy consumption, and the code, 2) Installation and start-up should include design team consultation when needed and understanding the entire system, and 3) Commissioning is not just checking the boxes, it’s running the system through its paces.
Coordination between many disciplines is difficult, but paramount for success and safety. This is teamwork!